The conversion top bar is very simple to make. It requires a Layens top bar, a few scrap pieces of 5/8" plywood, 4 screws (2"), a few fasteners/glue and some assembly time.
Start by making the top bars. Plans are here in the instructions for building frames. Make the top bars you need (one for each Langstroth frame you will be transferring). You can forgo the groove in the bottom for a starter strip, as this is not needed.
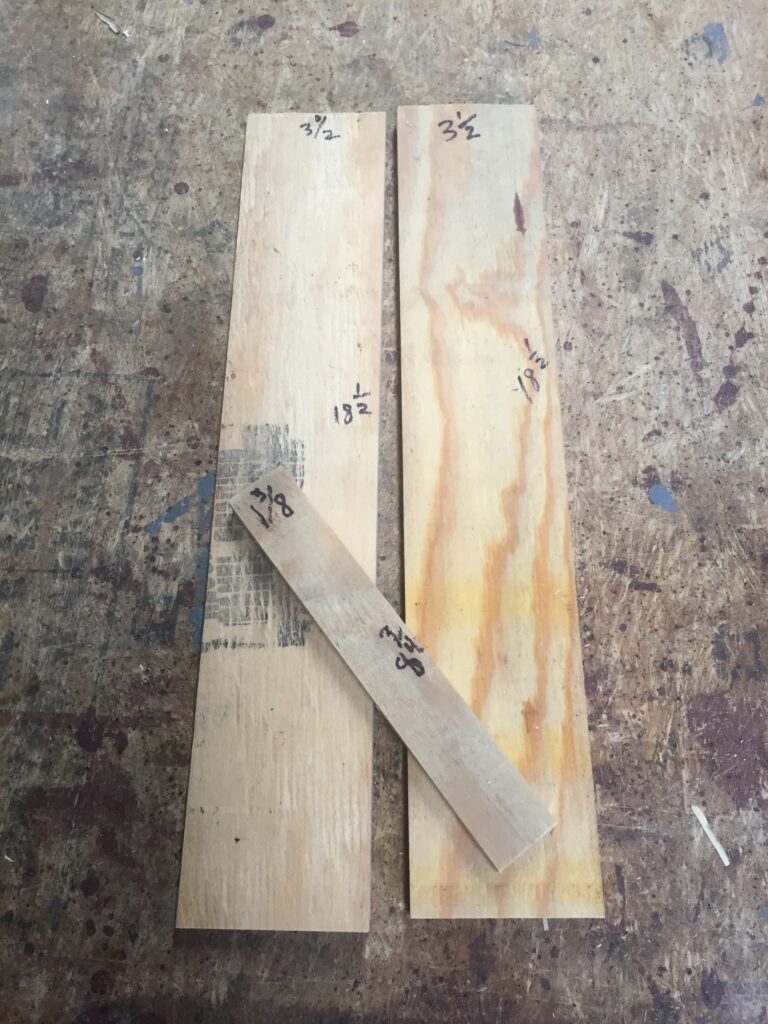
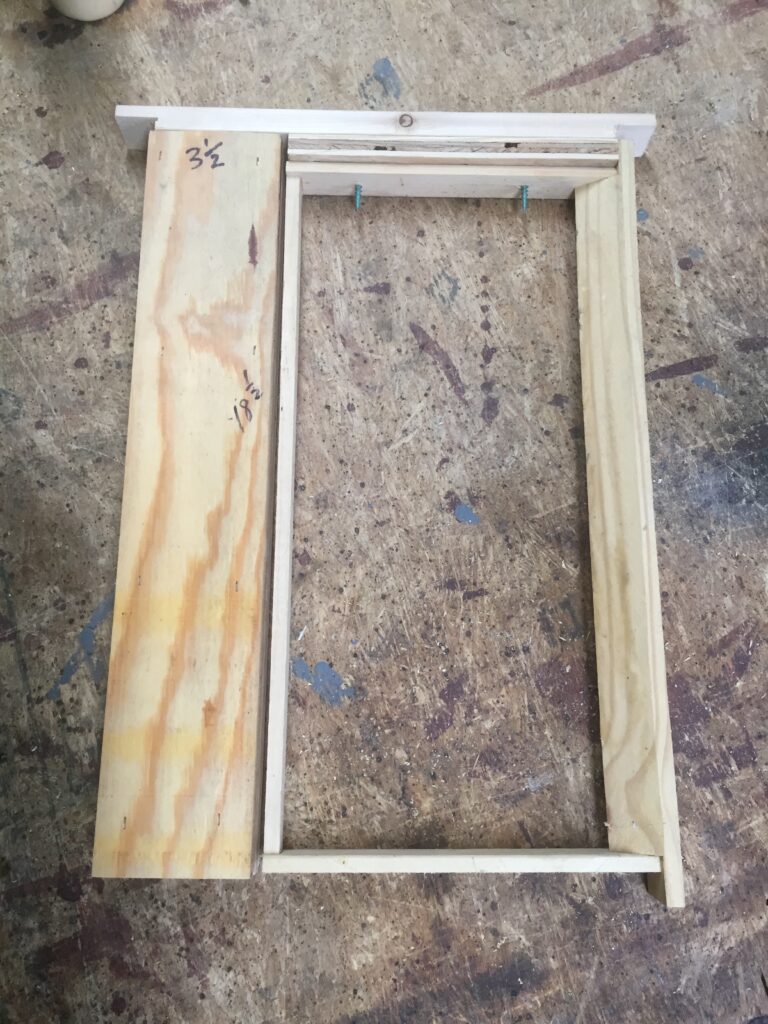
Next, make the 3 plywood pieces. 2 @ 3-1/2" wide X 18-1/2" long (void filler) and 1 @ 1-3/8" wide X 8-3/4" long (frame spacer). Cut these 3 pieces for each top bar you will need.
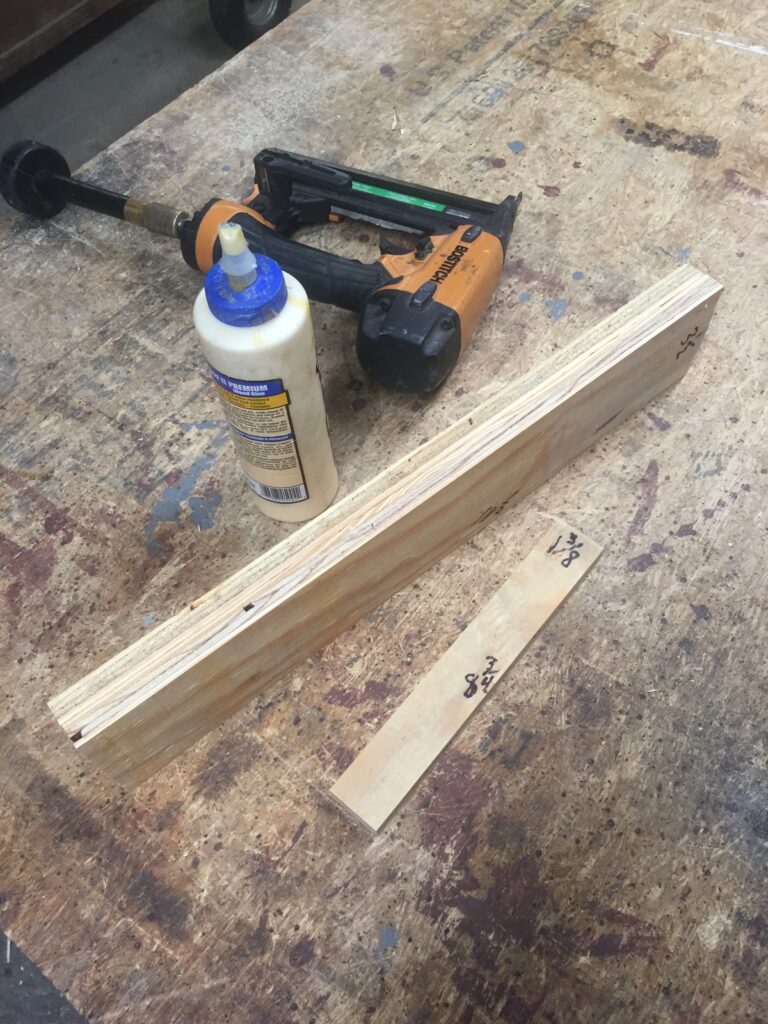
Glue and fasten the two 3-1/2" X 18-1/2" pieces together face to face. This will give you a void filler piece 3-1/2" wide X 18-1/2" long X 1-1/4" thick.
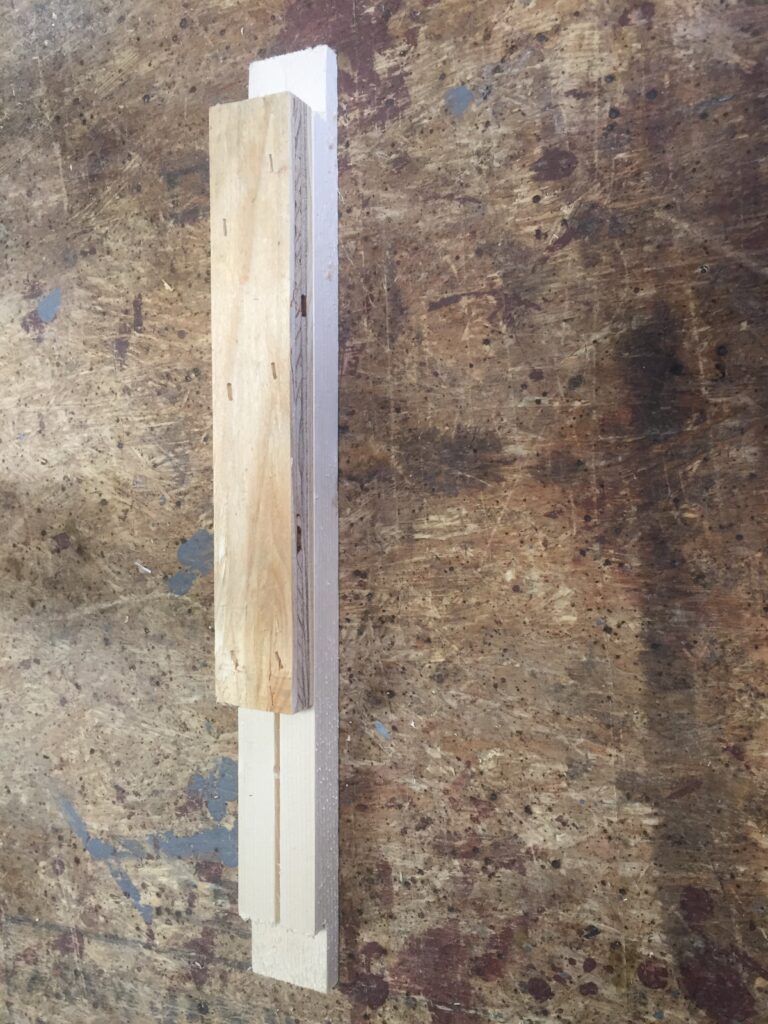
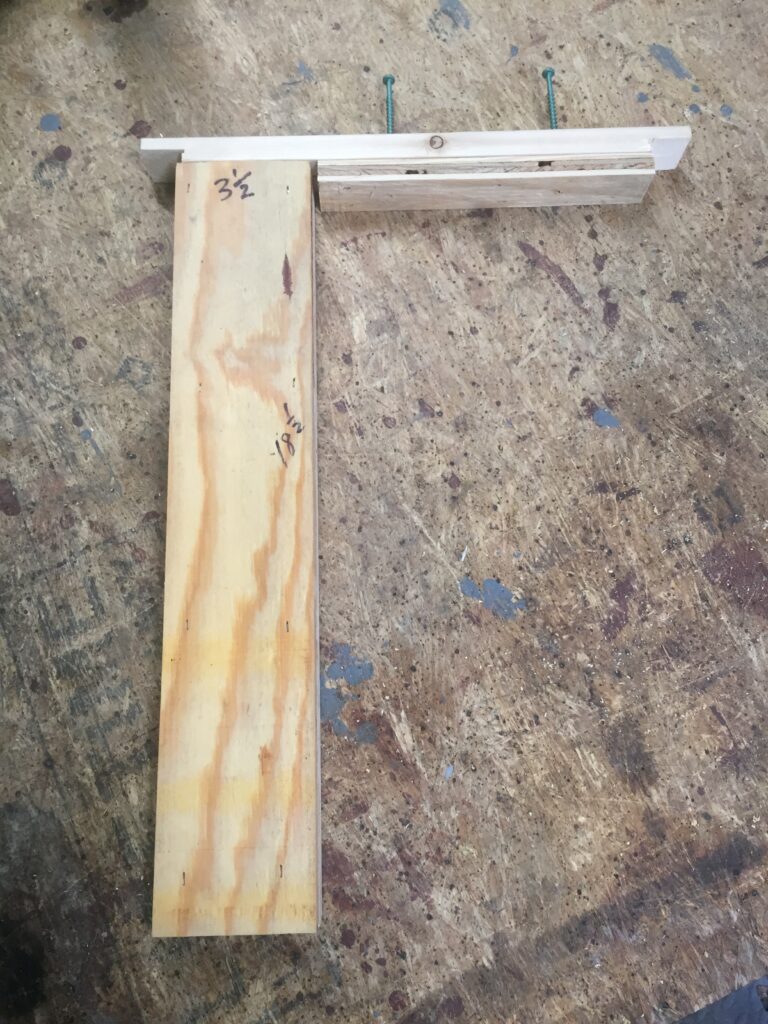
Fasten the frame spacer to the bottom of the top bar - flush with the sidebar notch on one end. Nails, staples, glue or not, it is you choice. As the screws you will use to attach the Langstroth frame do the real work, secure yet lightly attached is sufficient. Once the spacer is attached, drill 3/16" pilot holes through both the spacer and top bar. Drill these at 2", 3-1/2", 6-1/2" and 11" from one end. Using 2 of the screws, attach the void filler to the top bar. It should be positioned so as to overhang (1/4") the sidebar notch of the top bar. This will help to maintain the 3/8" bee space down this side of the hive. The other 2 screws can be started into the remaining pilot holes in the top bar. That is it. The conversion top bar is ready to go to work.