
To build frames for your hive you will need both 1X (3/4" thick) and 2X
materials (1-1/2" thick). I have used both new and reclaimed
materials. The bees do not seem to have a preference but when making
equipment for my own use I much prefer the price of the reclaimed
materials. May take a little more work, but I find it more satisfying
to reuse something that otherwise may have gone to waist. For these instructions we will assume all materials being used are new are ready to be worked up. There are 4 unique parts used, 5 in total with: 1 top bar, 1 bottom bar, 1
starter strip, and 2 side (or end) bars. It is much quicker to make
several of one piece and then move on to another part until all the
pieces needed are made.
Lets start with the top bar.
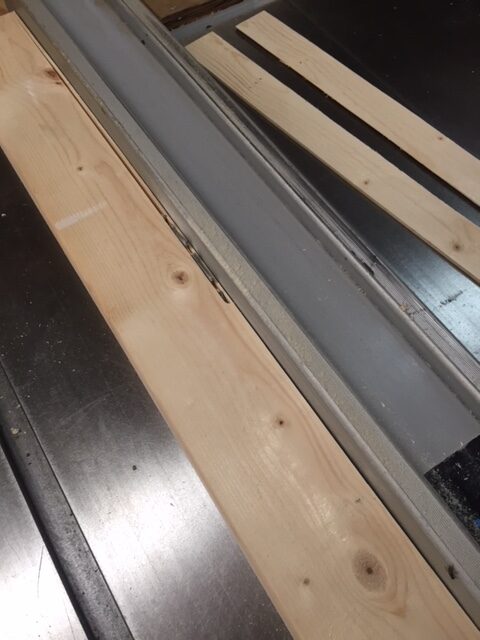
1x6 stock will make 4 top bars per length, a 1x10 will make 6 top bars per length, and a 1x12 will make 7 top bars per length with enough left over to make one bottom bar.
Start by cutting the 1x into 14-5/16" lengths.
Next cut rabbets on each end, 1-1/16" wide by 3/8" deep.
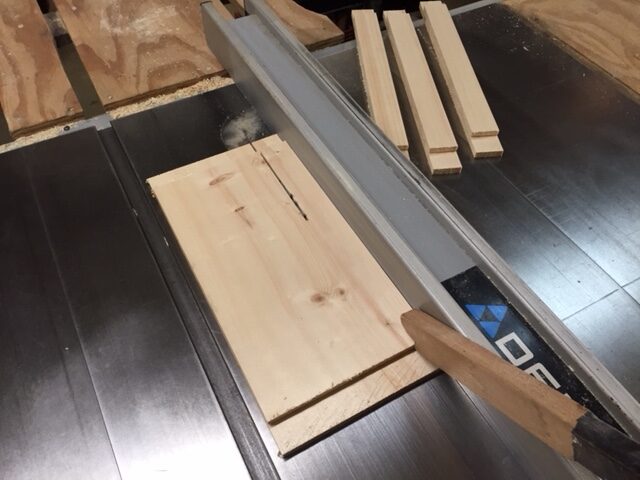
Once you have notched all lengths you can then rip into pieces 1-3/8" wide.
Finish the top bar by ripping a slot into the bottom of the bar centered and 3/8" deep.
The width of the saw blade is fine. I like to use a couple of finger boards and a board clamped to the table saw fence to both speed up the process as well as making the process much safer.

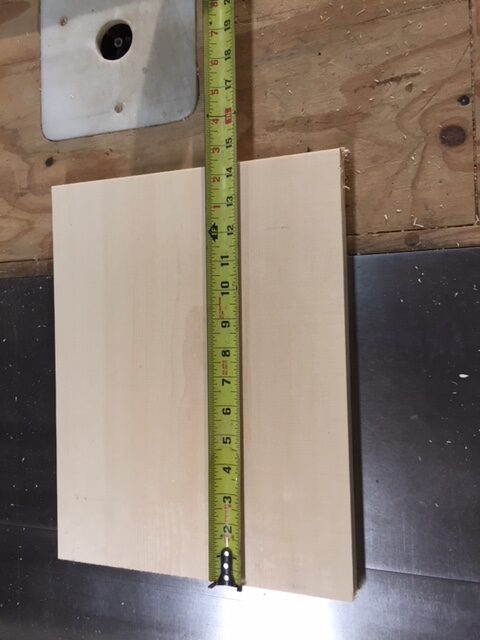
To make the bottom bars, I rip a 1x board into 5/8" strips and then cut these strips into 12-3/16" lengths.
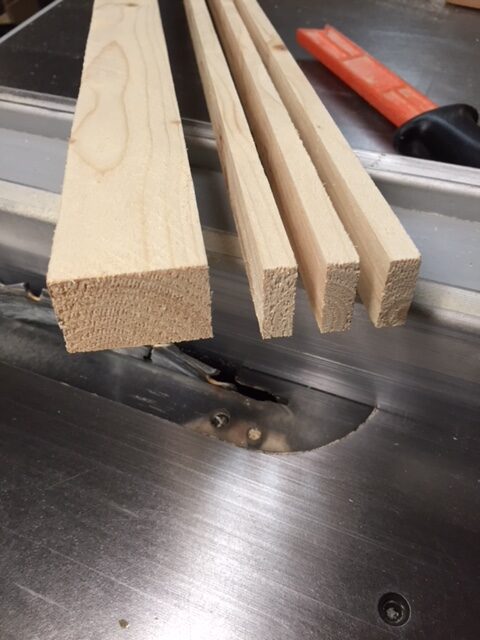
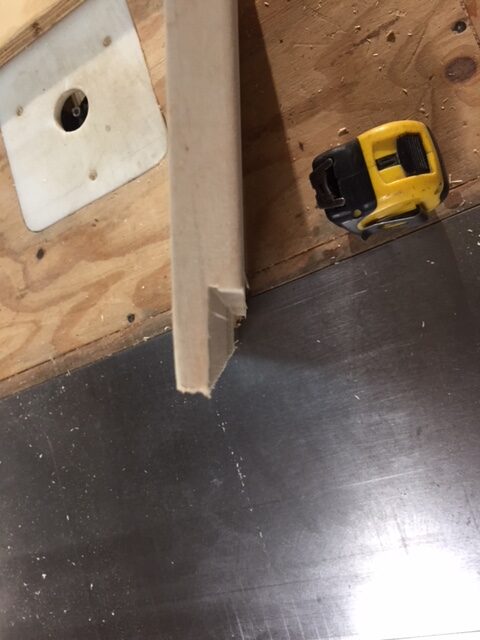
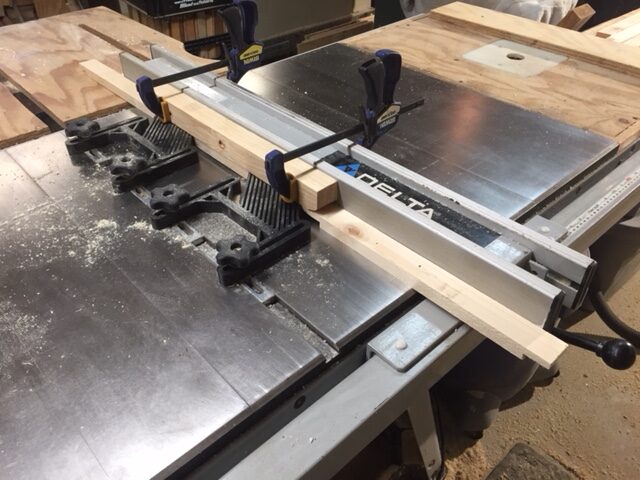
The side bars are made by cutting a piece of 2x material into
15-9/16" lengths. Rip these lengths into 1" wide strips (1" x 1-1/2").
Lastly, turn this piece on its side and rip into pieces 3/8" thick. You
will get 3 side bars per 1" x 1-1/2" piece.
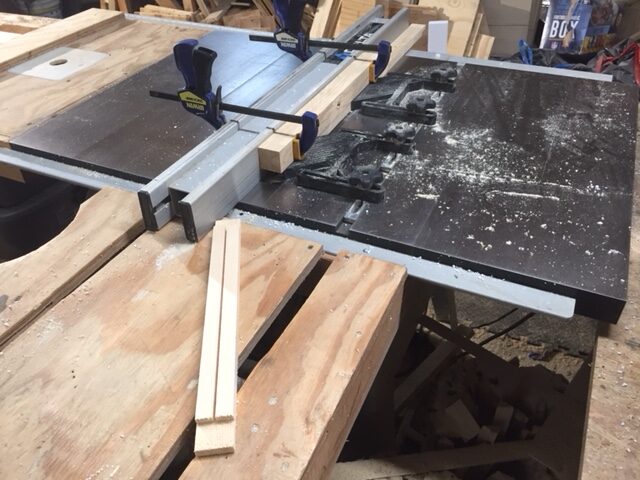
The last piece to make is the starter strip for the comb. Rip thin strips the width of your saw
blade from a piece of 2x material. This can be tricky so be slow and
careful with this process. I like to rip these strips from a longer
piece of 2x material ( 2' long) and then cut them to lengths 12" long.
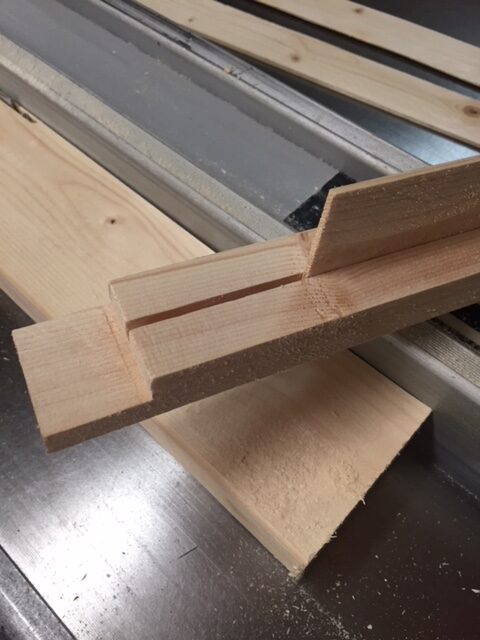
Be sure a verify that the strips will fit snugly into the slot you cut on the bottom of your topbars.
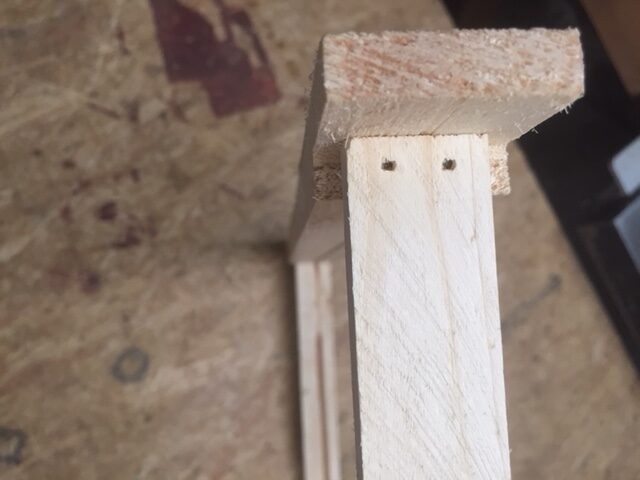
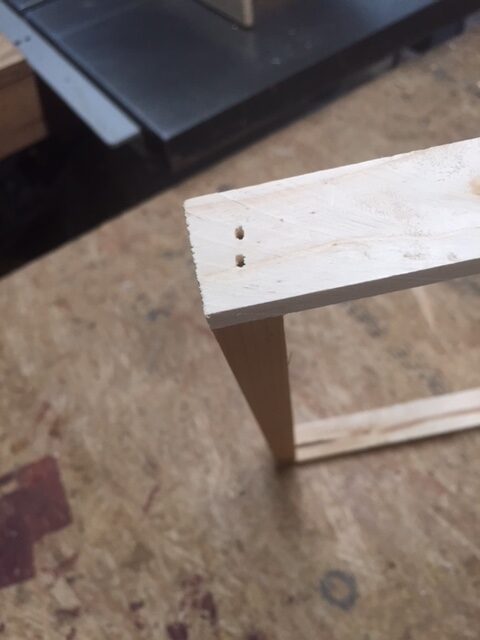
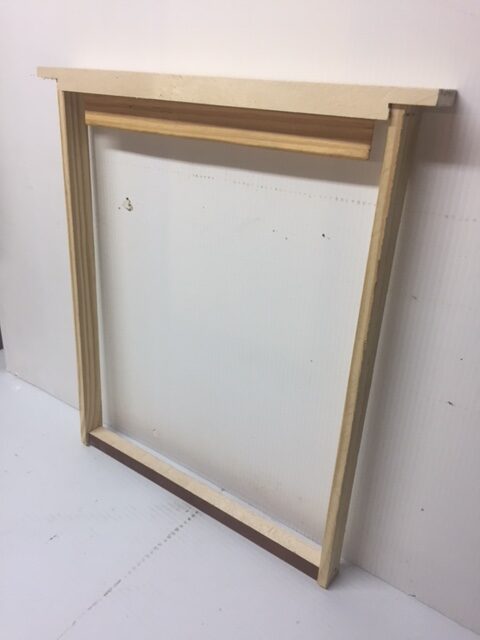
Assembly - The frame is best assembled in a jig to ensure that it is square. (Assembly Jig Plans)
You can accomplish this without a jig but it is a little slower and
usually less accurate. Frames can be assembled with or without glue. I
have found that if properly nailed or stapled together, the glue is not
really necessary. But, of course, there is no harm in using a little,
if you are more comfortable doing so. Start
by fastening the side bars to the top bar, followed by the bottom bar
(3/4" edge parallel to the top bar). I insert and fasten the starter
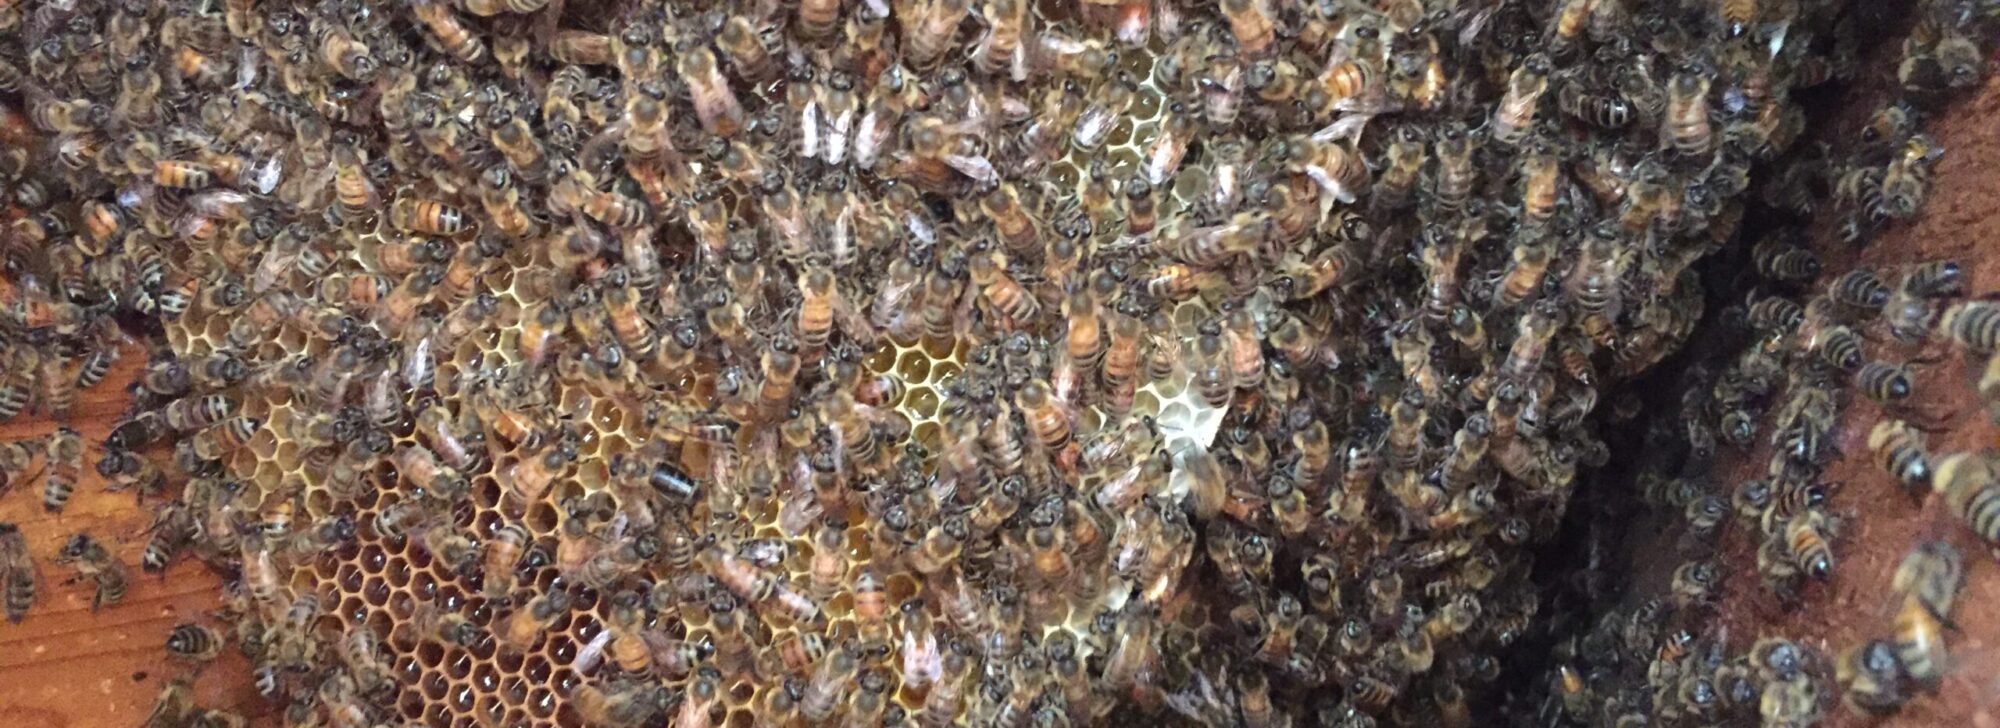
strip last. Make sure it is secure as the comb will most likely hang
from this alone until the bees reinforce it and make attachment to the
top bar.
You can apply a coating of beeswax along this joint to both strengthen
the bond and also encourage the bees to start here as they begin comb
building.